Key Usage Scenario: Presence control.
The presence control allows to keep a time control of the employees by means of an entry and exit presence system.
Setup
The user doing the setup must have D365 FULL ACCESS permissions and Presence control role.
The setup pages are accesible from the Presence control list page on the Presence control Role Center, within the Presence settings action group, as you can see on the following picture:

Create employee
Go to the Employees on Employee data.

Click on new in the employee. And select a template for a new employee. Then select the company from the list:
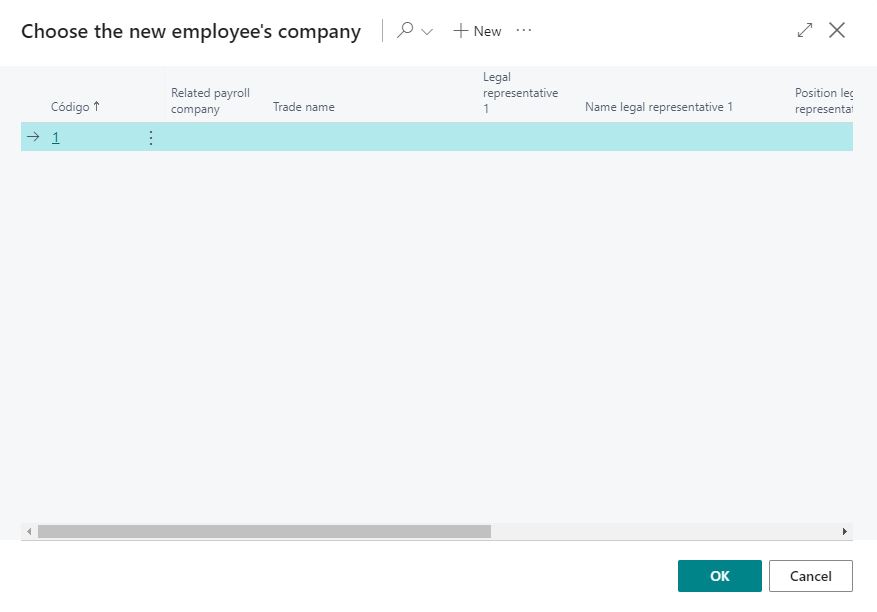
Once we access the employee's card, we must fill in the following fields:
In General group:
- No.
- Code.Person (Expand the list and create a new person. See below)
- Name
- First Family Name
In Labour group:
- Timetable (Expand the list and select the 1 code)
Create person
After click in the Code.Person field and new button, the person creation window will open.
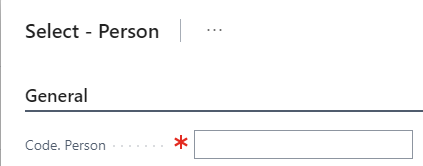
It will only be necessary to enter the field Code.person. You can indicate one of these:
- 14141414O
- 11111111H
- 55555555P
To finish press the ok button.
Usage
Presence users usually start they work day opening the Undated attendances and create the attendances.
Open Undated attendances
Go to the Presence control and select Undated attendances.

When accessing to the screen we will click on the edit button, you must indicate in the Date fields of the Beginning group and Date of the The end group the current day.
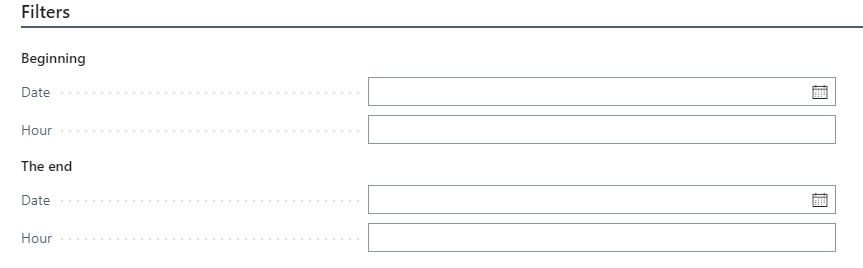
If you don't see these fields, you can click on the Show more button.
Once we have indicated these dates we can make the attendances.

First of all we will have to select the employee that we have created previously, then we will select the current date and the time that we want, example: 08:00, after selecting the time we will select the Presence incident 01 and to finish the Code reader 01.
We will have already entered the attendance, we will have to pass another attendance in the same way but we will change the time and we will indicate 13:30.

Debug undated attendances
Once we have the two attendances, we will go to the Debug button in the Process area of menu.
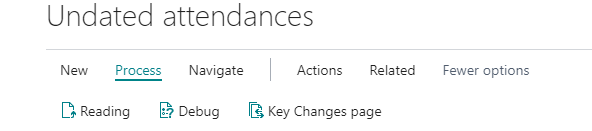
Once the button is clicked, the following dialog window will appear.
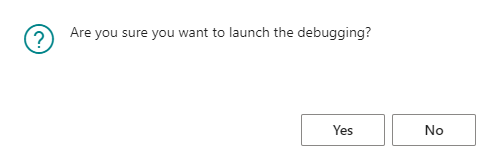
We will click on yes.
Update undated attendances
When the debugging process is done, we will go to the Update attendances button in the Actions\Update area of menu.
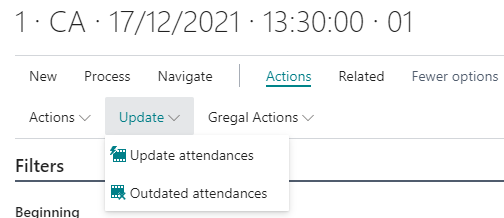
Once the button is clicked, the following dialog window will appear. Just click on Preview & Close.
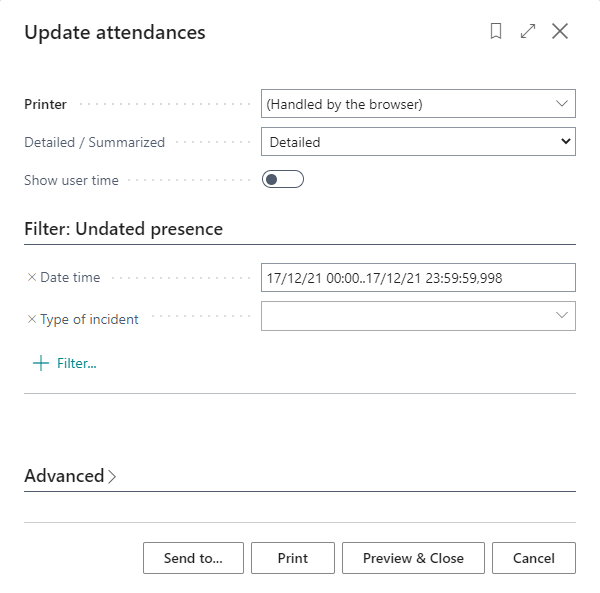
The process of updating attendances will begin, this process serves to indicate that the attendances have been corrected and are given as valid to calculate the time of presence.
At the end of the process, it will show us a report with all the updated attendances and the total hours. This process will also create the employee presence statements.

We can close the list when we have finished the action.
Presence extracts
When the Update attendances process is done, we will go to the Presence extracts button in the Navigate area of menu.
This action will open the list of presence extracts, filtered by day.
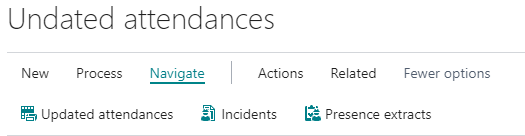
In this list we can see the record with the total hours of presence that the employee has made.
